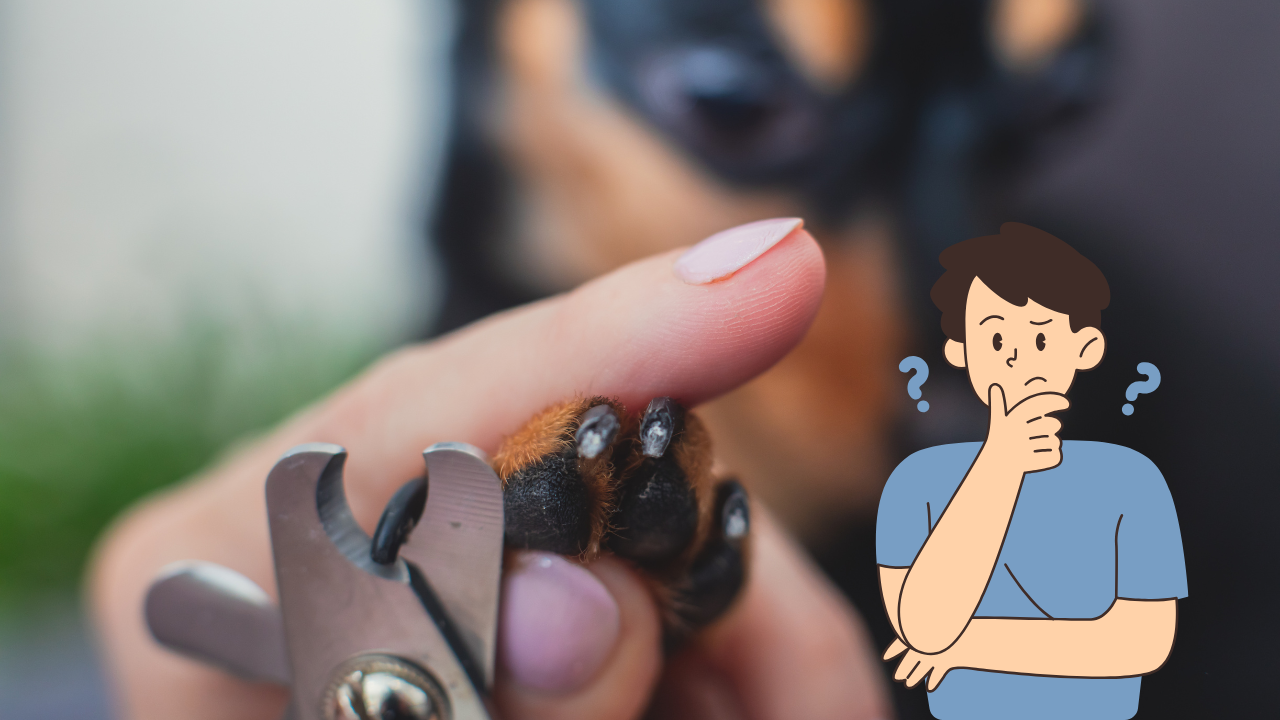
When it comes to grooming, figuring out how do I cut dog’s nails can feel overwhelming at first. A dog’s nails grow 1-2 millimetres weekly, so trimming every 3-4 weeks is essential. I’ve learned the hard way that waiting too long leads to loud “clicking” sounds on the floor! Need help with a dog’s broken nail? Learn effective tips for dog broken nail home treatment to handle it safely.
Keeping nails short prevents pain or injury and makes future trims easier. With regular cuts, the quick recede by about 1-2 millimeters, so your dog stays comfortable. Little trims done often are the secret to happy, healthy paws.
Quick Navigation
Quick Look
To cut your dog’s nails, hold their paw firmly and gently isolate one nail. Trim only the tip, avoiding the quick, which is the sensitive part inside the nail. Use treats and praise to keep the experience positive, and take breaks if your dog feels stressed.
How do I know when my dog’s nails are too long?
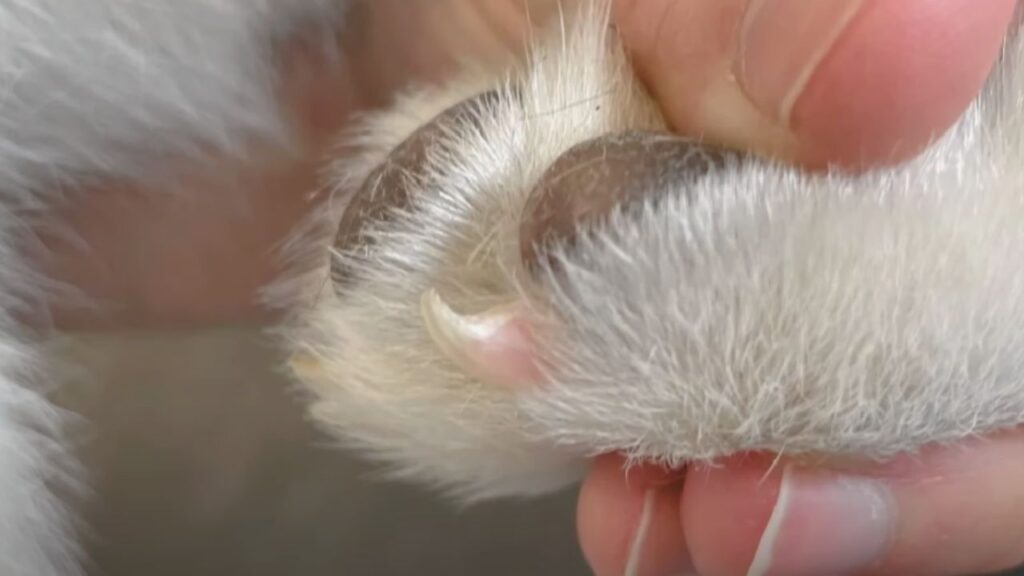

You’ll know your dog’s nails are too long if you hear clicking sounds when they walk on hard surfaces. Curled nails are another clear sign they need a trim. Overgrown nails can also get caught on carpets or furniture, which may cause discomfort or injury.
Additionally, if your dog alters their walking style or seems uncomfortable, it could indicate the nails are pressing into the nail beds, causing pain. Checking and trimming nails every 2-4 weeks helps prevent these issues and ensures your dog stays comfortable and active.
Tools Needed for Dog Nail Trimming
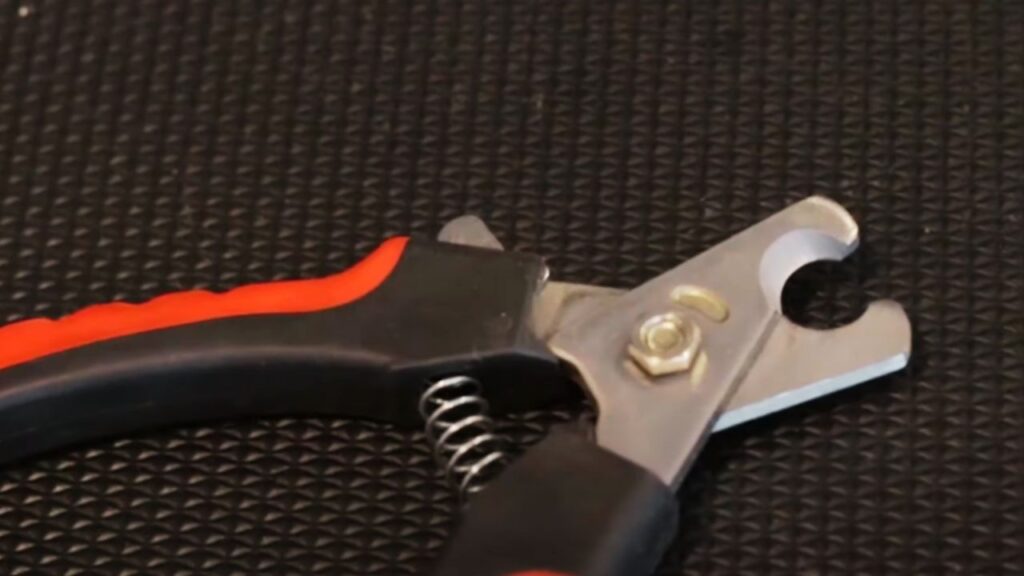

Alright, let’s dive into the must-have tools for dog nail trimming! I remember being overwhelmed the first time, but having the right gear makes all the difference. Trust me, it’s a smoother ride when you prepare yourself like a pro. If you’re wondering, How Do I Cut Dog’s Nails, having the right tools is the first step to making the process easier and stress-free.
You only need a handful of tools to get started, and it doesn’t take a huge investment. In fact, I’d say the essentials will cost you anywhere from $15 to $30. Having everything on hand means fewer delays and a happier dog!
Here’s what you’ll need:
- Scissor-Style Clippers: Great for thick nails, easy to handle for larger dogs.
- Guillotine-Style Clippers: Better for small to medium-sized dogs, offering more precision.
- Nail Grinder (Dremel Tool): Ideal for smoothing out edges; they run around $20 on average.
- Styptic Powder or Cornstarch: Stops bleeding in case you hit the quick – essential for emergencies.
- Treats and Rewards: Use high-value treats like cheese or peanut butter for motivation during the process.
- Optional: Small Towel or Blanket: Wrap anxious pups to keep them calm and secure.
Preparing Your Dog for Nail Trimming
Getting your dog ready for nail trims takes a little patience, but trust me, it’s worth it. The more comfortable they are with the process, the easier it will be for both of you. If you’re wondering how do I cut dog’s nails, a few simple steps spread over 5-7 days can help your pup go from fearful to relaxed during grooming sessions.
1. Start Early with Paws Handling
When I first started trimming my dog’s nails, I realized the prep work is half the battle. One key thing is touching your dog’s paws regularly. If you do this at least once a day for about a week, they’ll start to relax.
2. Create Positive Associations with Clippers
It’s smart to introduce the clippers early place them near their food bowl or drop 2-3 treats around the tool. This way, they associate clippers with something good and familiar, rather than something scary.
3. Desensitize Your Dog to the Trimmer’s Sound and Feel
When your pup is comfy with the sight of the clippers, you’re ready for the next step. Handle the clippers gently near the paws three to five times a day. No cutting yet just let them hear the sound or feel the vibration if you’re using a grinder.
Step-by-Step Guide: How Do I Cut Dog’s Nails?
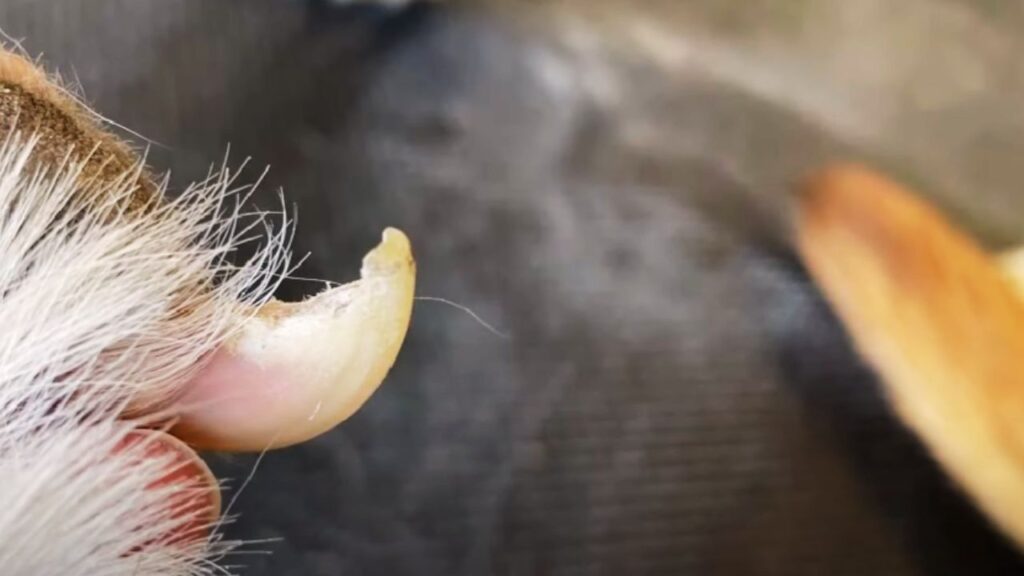

Trimming your dog’s nails might feel tricky, but breaking it down into steps makes it much more manageable. Whether you’re using clippers or a grinder, the key is patience and precision. Let’s walk through the process, one step at a time, so both you and your dog stay stress-free.
Step 1: Get a Good Grip
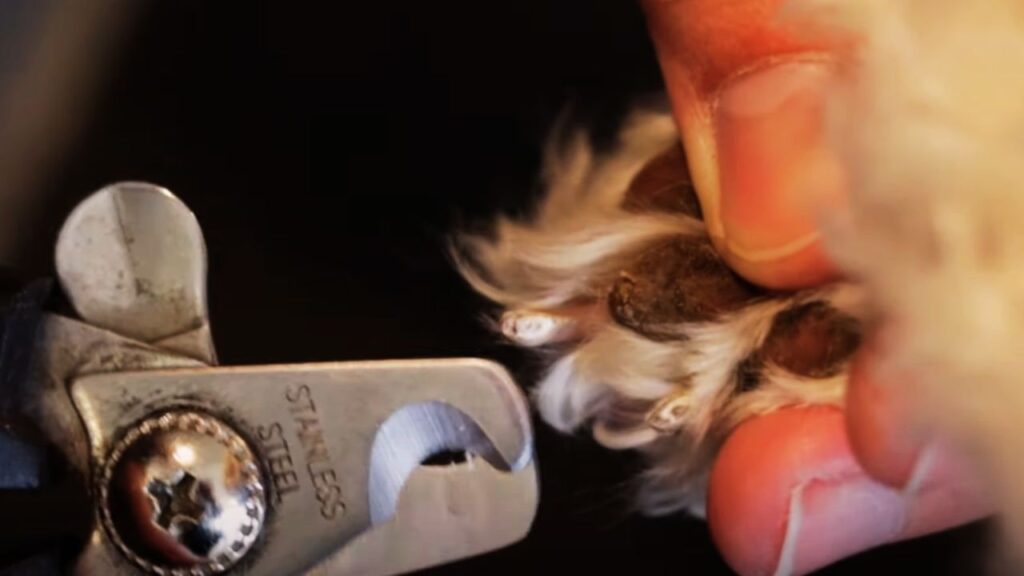

Hold your dog’s paw with your thumb on the pad and your forefinger on the skin above the nail. This helps extend the nail so it stays steady during the trim. Adjust your grip as needed each dog might feel comfortable with a slightly different hold.
Step 2: Identify the Quick
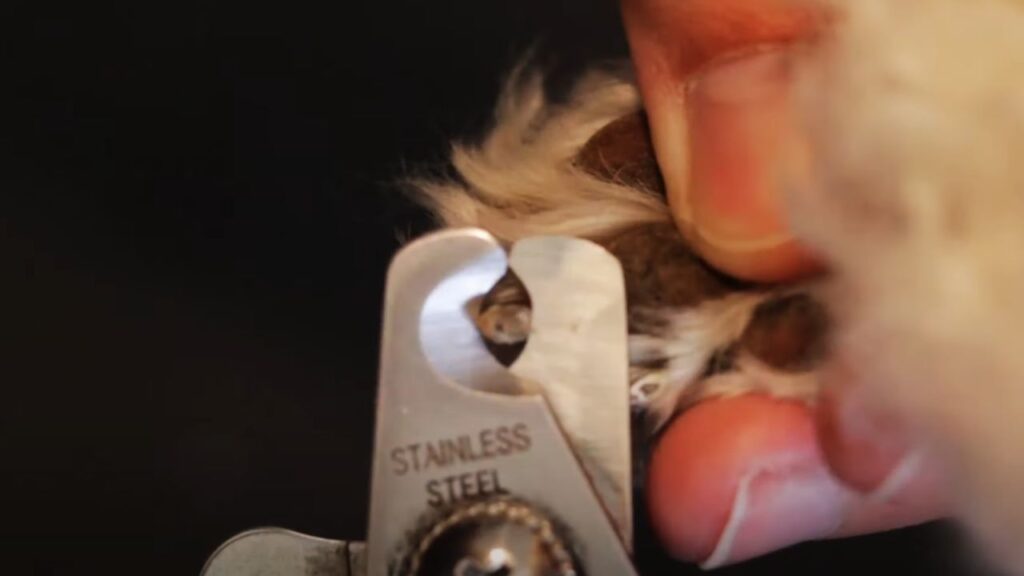

For light nails, look for the pinkish quick, which you want to avoid cutting. Stay at least 2 mm away from the quick. With dark nails, trim tiny pieces until you notice a white, chalky surface or a black dot, indicating you’re close to the quick.
Step 3: Trim at the Right Angle
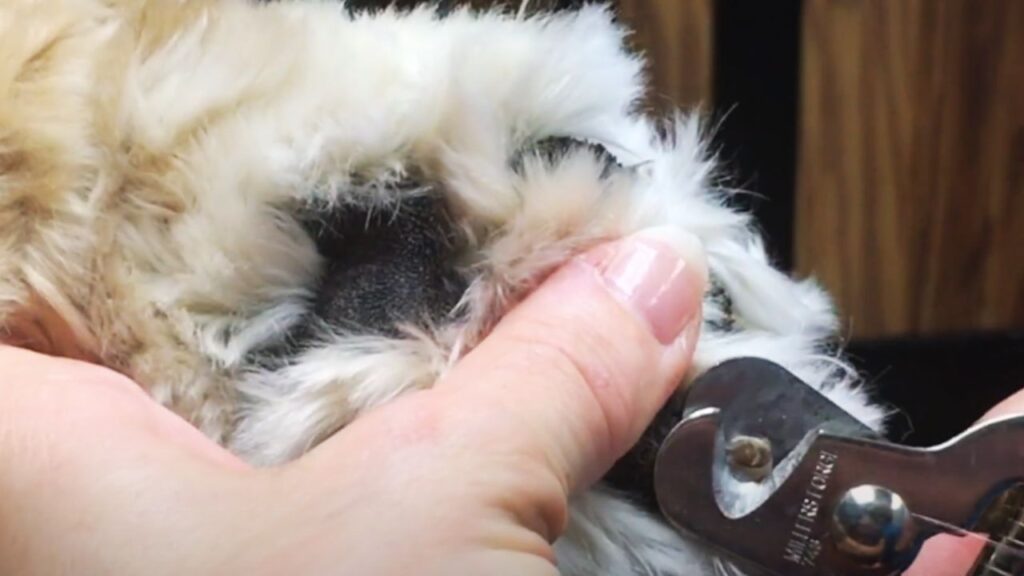

Always cut the nail at a 45-degree angle, following the natural curve. This ensures the nail won’t press uncomfortably on the floor when your dog walks. Nails that click against the floor are a sign that they need trimming again.
Step 4: Take it One Nail at a Time
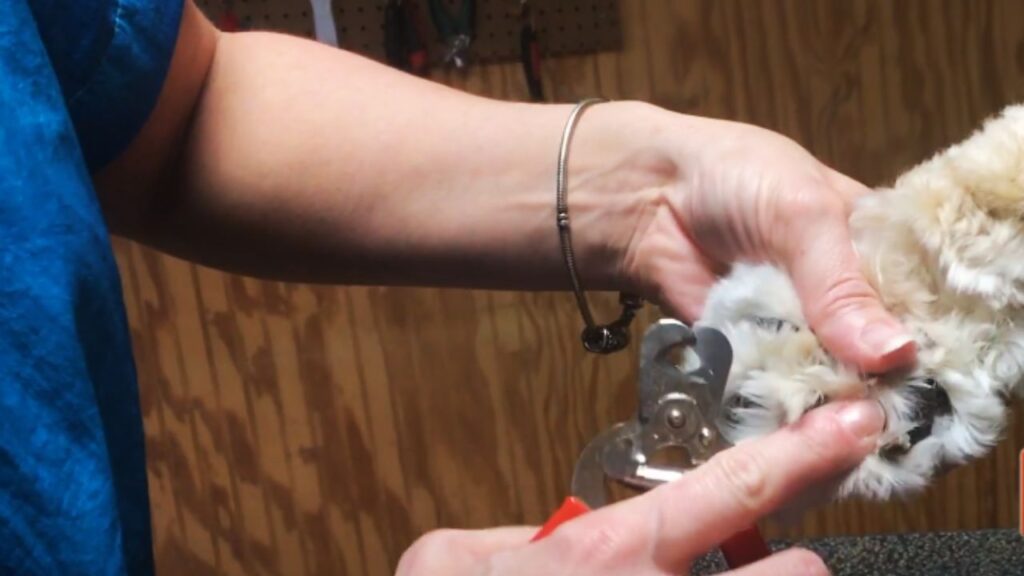

I usually trim just 1-2 nails per session, especially with nervous dogs. Breaks help reduce stress, so try spacing out the trimming over a couple of days if needed. Always finish each session with a treat positive reinforcement goes a long way.
Step 5: Prepare for Mistakes
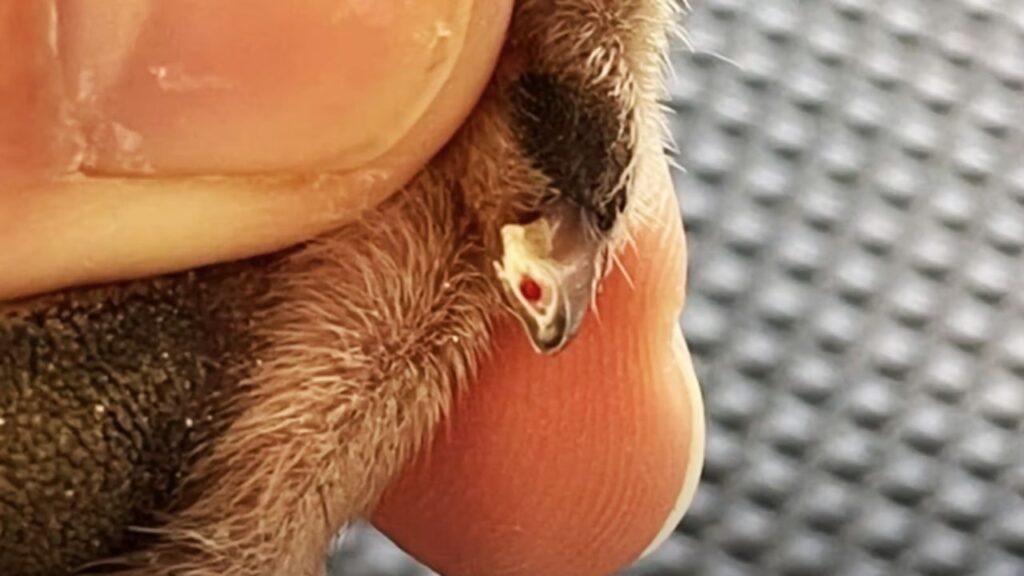

Accidents happen! Keep styptic powder or cornstarch handy to stop any bleeding within 30 seconds if you accidentally cut the quick. Stay calm—it’s part of the learning process, and your dog will forgive you faster than you expect.
Thinking about using baby shampoo on your pet? Discover the pros and cons in can you use baby shampoo on dogs.
Dealing with Mistakes
Sometimes, even with the best preparation, mistakes happen. Accidentally cutting the quick can be stressful, but it’s manageable with the right approach. Staying calm, acting quickly, and knowing how to handle it will make future trimming sessions easier.
1. What Happens If You Cut the Quick?
Alright, accidents happen even professional groomers sometimes clip the quick. The quick is the sensitive part of a dog’s nail with blood vessels, and cutting it can cause some bleeding. Luckily, with styptic powder, bleeding stops within 3-5 minutes.
2. Stay Calm and React Quickly
Trust me, I’ve made this mistake before, and the best thing is to remain calm. Grab some styptic powder (or flour/cornstarch if you don’t have it) and press it on the nail for 10-20 seconds. Dogs pick up on our energy, so keeping cool makes the situation easier for them too.
3. Avoid Future Issues with Regular Trimming
The quick will naturally recede if you trim a little bit every 2-4 weeks, especially for dogs with overgrown nails. Trimming small amounts frequently makes it less likely to hit the quick in the future. Always keep styptic powder on hand to be safe.
4. Distract and Reward After Mistakes
If your dog gets upset after a mishap, offer a high-value treat or toy to make the experience positive. Even 2-3 treats right after a trim can help build trust again. Small actions like these keep your dog relaxed for future sessions.
Maintaining a Nail Care Routine
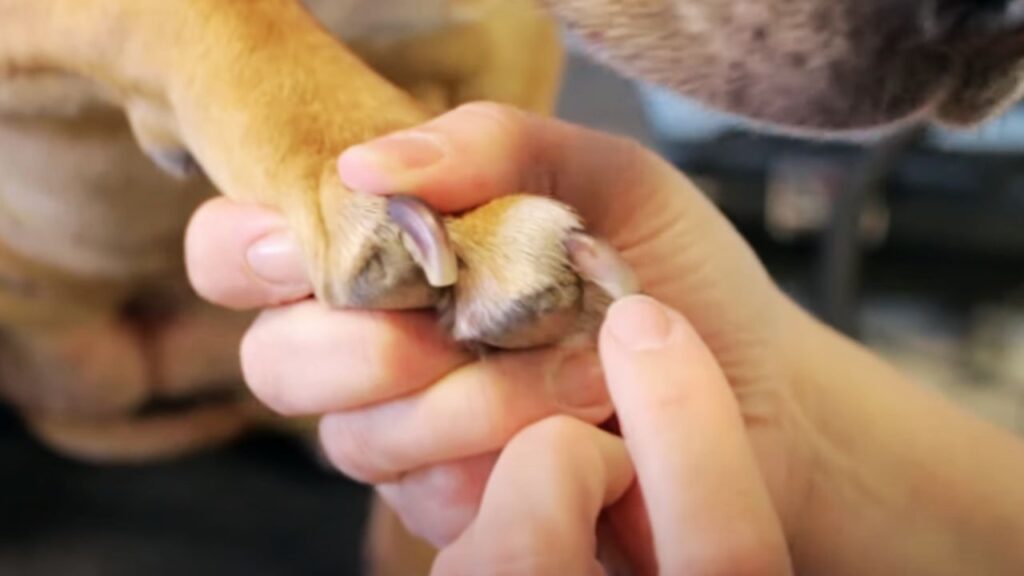

I like to check my dog’s nails every 2 to 4 weeks. If I hear clicking sounds on the floor as he walks, I know it’s time to trim again. Dewclaws are tricky—so don’t forget to check those too!
Using a grinder every second or third trim works well for keeping edges smooth. Grinders are handy for larger breeds with thicker nails, but it takes about 10-15 minutes per paw to get it right. For smaller dogs, clippers are quicker, taking around 5 minutes per paw.
If you accidentally trim too far, don’t panic. Bleeding usually stops in under 5 minutes with styptic powder or cornstarch. Consistency is key, and keeping up with a routine ensures the quick recedes over time, making future trims easier! For guidance on when to trim, check out the recommended nail clipping schedule for dogs.
How do I make nail trimming a positive experience?
To make nail trimming a positive experience, offer treats and praise throughout the process to create positive associations. Start slowly, letting your dog sniff the tools and rewarding them for calm behavior.
Trimming after a walk, play session, or meal can also help, as your dog will be more relaxed and less likely to resist. Take breaks if needed, doing just one or two nails at a time, and reward generously.
With patience, consistency, and positive reinforcement, your dog will start associating nail trimming with treats and affection, making the experience smoother and stress-free for both of you.
Wrap-Up
In my experience, once you get into a routine, trimming your dog’s nails becomes easier just like brushing your teeth every day! I suggest checking your pup’s nails every 2 to 3 weeks to avoid overgrowth.
If you hear clicking on the floor or see curling nails, it’s time to trim. It only takes five minutes per session once you and your dog get the hang of it. And trust me, rewarding them with treats every time makes it much smoother!
Remember, a happy pup equals fewer vet visits and healthier paws. Regular trims are totally worth it. Looking for an effective antifungal solution? Check out our recommendations for the best antifungal shampoo for dogs.

